How to Install James Hardie Siding Correctly
How to Install James Hardie Siding Correctly
As a Florida homeowner, your property is exposed to a unique combination of challenges, from intense sun exposure to heavy rain and occasional hurricane-force winds. When it comes to protecting your home while enhancing its aesthetic appeal, James Hardie siding stands out as a durable, long-lasting option. However, even the best materials can fail if improperly installed, leading to costly repairs down the line.
In this article, we’ll break down the key insights from a contractor’s perspective on how to install James Hardie siding correctly, identify common mistakes that can compromise the material’s performance, and highlight best practices to ensure your siding project stands the test of time.
Whether you’re planning a DIY project or hiring a contractor, you’ll learn valuable tips to safeguard your investment and boost your home’s curb appeal.
What Makes James Hardie Siding a Standout Choice?
James Hardie fiber-cement siding has earned its place as a household name for several reasons. Known for its durability, it resists cracking, rotting, insects, and even fire, making it a reliable choice for Florida's harsh conditions. Its clean, classic appearance pairs well with many architectural styles, and it comes with a 50-year lifespan when properly installed and maintained.
However, the effectiveness of James Hardie siding is tied to its installation. Even a high-quality product can fail if shortcuts are taken or installation guidelines are ignored. Understanding the correct process is vital to avoiding issues like water damage, loose panels, or premature wear.
Common Installation Mistakes and Their Consequences
Improper installation not only voids the manufacturer's warranty but can lead to significant problems over time. Here are some of the most common mistakes contractors encounter:
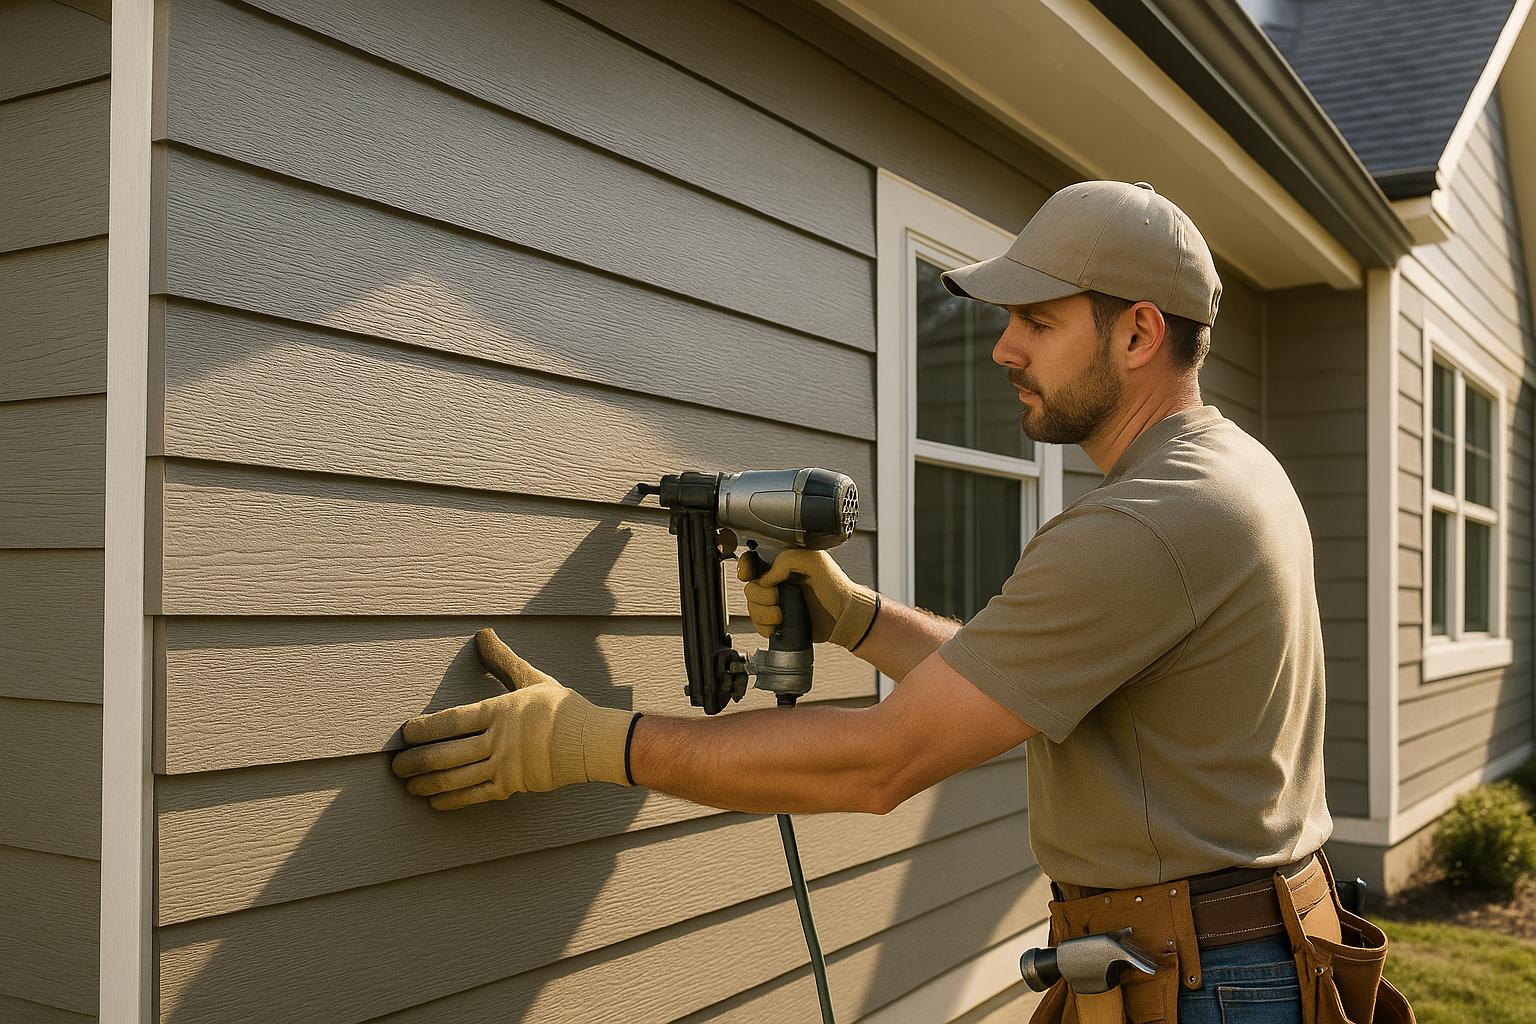
1. Failure to Nail into Studs
One of the most critical aspects of installing James Hardie siding is ensuring that it’s securely nailed into the wall studs. Without proper stud alignment, the siding can loosen over time due to Florida's high winds and vibrations caused by environmental factors. This often leads to siding misalignment, "chattering" noises, and even panels slipping out of place.
In many cases, nails that do hit the studs are more by accident than by design, which was highlighted in a specific project where only 10-15% of nails landed correctly. A reliable contractor will mark stud locations and ensure that each panel is securely fastened.
2. Improper Flashing Materials
Flashing is an essential barrier that prevents water from seeping into joints and vulnerable areas. Some installers use low-quality materials like tar paper, which can deteriorate over time when exposed to UV rays. For a siding product designed to last 50 years, using subpar flashing can compromise its lifespan. Instead, materials such as ice and water shields offer superior durability and resistance to breakdown.
3. Skipping Proper Expansion Gaps
James Hardie siding expands and contracts with temperature changes, a characteristic that requires precise spacing. If panels are installed too tightly or improperly caulked at the butt joints, they can crack or warp over time. Leaving the recommended expansion gaps allows the product to move naturally without damage.
4. Overlooking Proper House Wrap
Standard house wraps are not surfactant-resistant, meaning they can break down when exposed to moisture, leading to rot and eventual siding failure. The solution? Use a more robust weather-resistant barrier like Kimberly-Clark Block-It, which is specifically designed for fiber-cement siding.
Best Practices for a Perfect James Hardie Installation
Achieving a flawless James Hardie siding installation requires attention to detail, proper tools, and strict adherence to manufacturer guidelines. Here’s a step-by-step outline of the process when done correctly:
1. Preparation
- Remove Old Siding: Strip away the existing material and inspect the wall for any damage.
- Install Weather-Resistant Barrier: Cover the entire wall with a high-quality house wrap, taping all seams and ensuring proper flashing around windows, doors, and penetrations.
2. Marking Studs
- Use the markings on the house wrap or a level to locate and mark the studs. This ensures that every nail is driven into a structural support beam.
3. Cutting Siding
- Use specialized tools to cut James Hardie siding to size. Always prime and paint exposed edges to ensure moisture resistance.
4. Installing Panels
- Begin with a starter strip at the bottom of the wall to create a level base. Then, fasten each panel, ensuring that nails penetrate the studs and are spaced evenly.
- Use lap tools to maintain a consistent overlap between rows, and frequently check for level alignment.
5. Flashing and Gaps
- Install flashing behind every butt joint and over horizontal trims, such as window and door tops. Leave a quarter-inch gap above trim and an eighth-inch gap at butt joints to accommodate natural expansion and contraction.
6. Final Touches
- Inspect all flashing and gaps for accuracy, and caulk around penetrations and trim with a color-matched polyurethane caulk. Avoid caulking the butt joints, as they are designed to remain open.
Why Proper Installation Matters
Incorrect installation can lead to water infiltration, structural damage, and costly repairs. By following best practices and using high-quality materials from nails to flashing, you can maximize the lifespan of your siding and preserve your home’s structural integrity.
James Hardie siding is an investment that, when installed correctly, provides decades of low-maintenance protection and beauty. It’s worth taking the extra time to ensure the job is done right.
Key Takeaways
- Nail Properly: Secure the siding into wall studs to prevent loosening, misalignment, and "chattering."
- Choose Durable Flashing: Use high-quality materials like ice and water shields to prevent water damage.
- Allow for Expansion: Leave appropriate gaps for natural expansion and avoid caulking butt joints.
- Use Suitable House Wrap: Opt for surfactant-resistant barriers like Kimberly-Clark Block-It for longevity.
- Follow Manufacturer Guidelines: Adhering to James Hardie’s installation instructions preserves the product warranty.
- Inspect Regularly: Check caulked areas and the siding's condition annually to maintain its performance.
A Word of Advice for Homeowners
As a homeowner, your priority is to protect your investment while enhancing the beauty of your property. Whether you’re handling a siding replacement yourself or working with a contractor, ensure that the proper steps and materials are used. James Hardie siding is a robust, aesthetically pleasing option that offers long-term benefits, but only if installed with precision.
When hiring a contractor, look for one with extensive experience installing James Hardie products and a proven commitment to following manufacturer guidelines. A well-executed siding project will not only elevate your home’s curb appeal but also provide peace of mind for years to come.
Source: "Installing @JamesHardieBP Siding The Right Way | You Ask, The PROs Answer | Ep.54" - Pro Exteriors, YouTube, Aug 22, 2025 - https://www.youtube.com/watch?v=jGNBX50nxxA
Use: Embedded for reference. Brief quotes used for commentary/review.