James Hardie Siding: Mistakes to Avoid
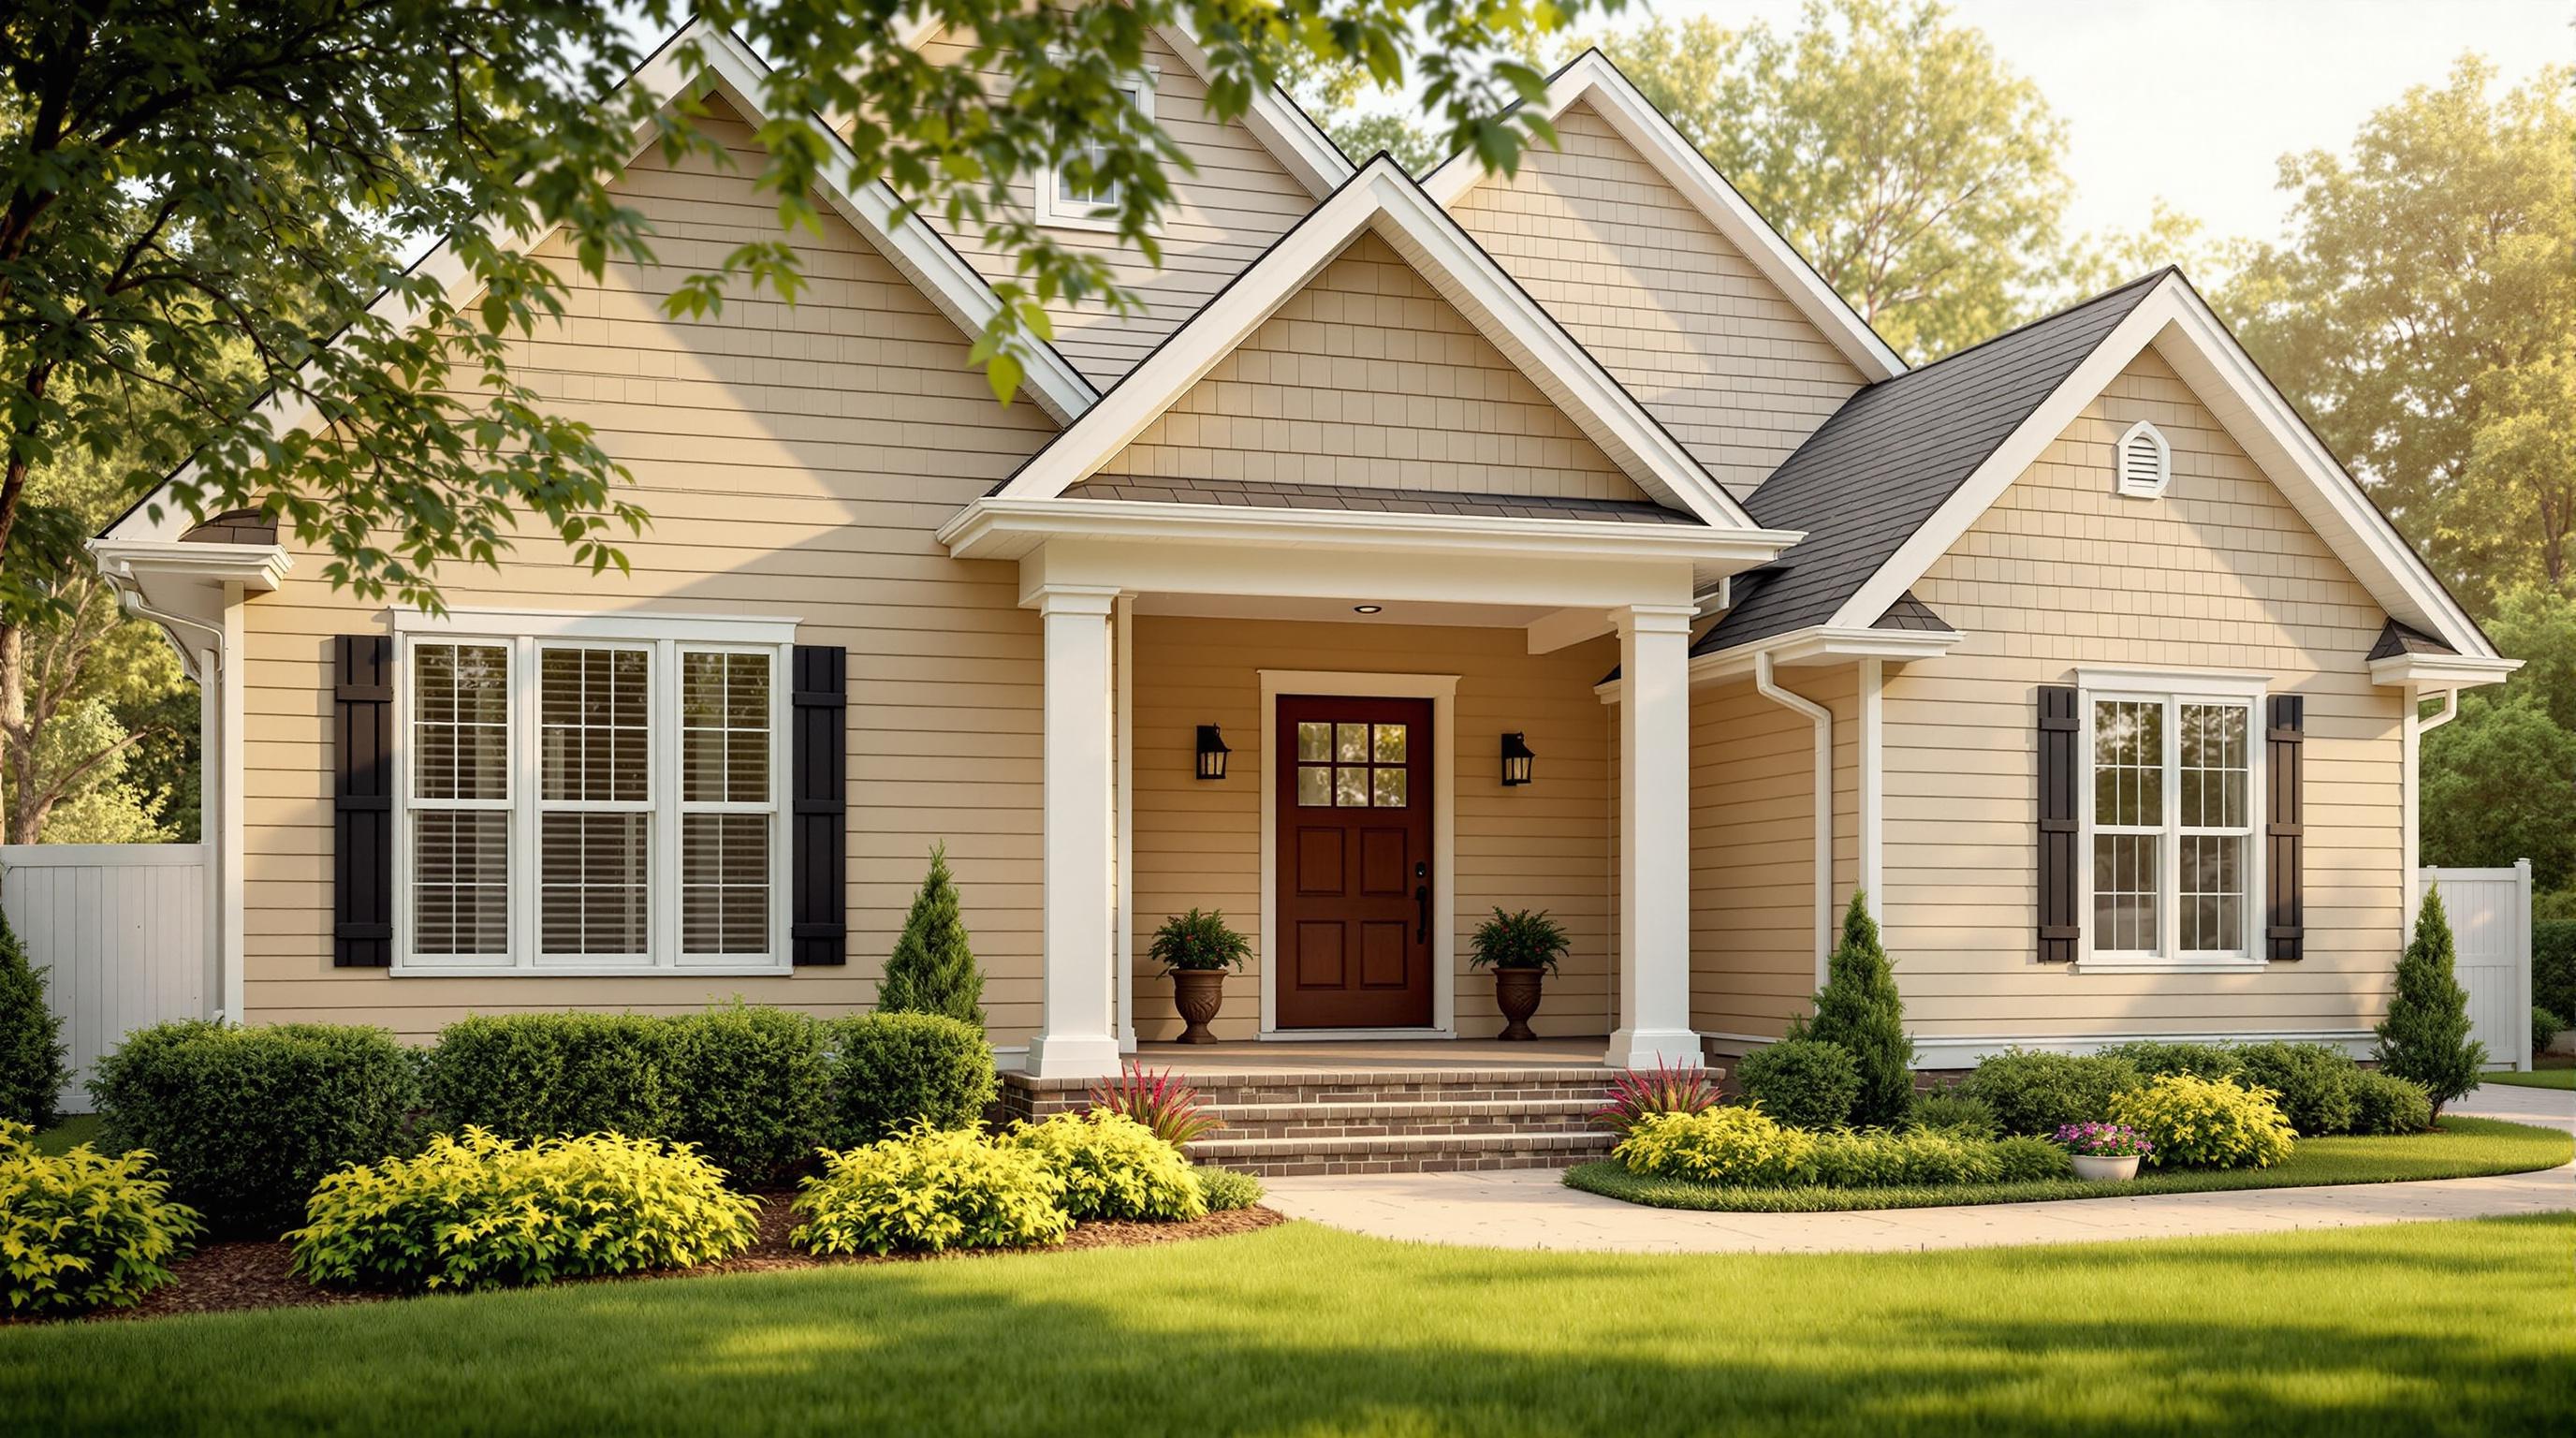
James Hardie Siding: Mistakes to Avoid
Want durable, long-lasting siding for your home? Avoid these common mistakes when installing James Hardie siding:
- Incorrect Nail Installation: Use the right nails and follow manufacturer guidelines for depth and spacing.
- Poor Flashing and Water Control: Ensure proper flashing to prevent moisture damage.
- Improper Spacing: Maintain clearances from surfaces like the ground and decks to allow ventilation.
- Faulty Joint Setup: Align joints correctly and use flashing to avoid water problems.
- Ignoring Installation Guidelines: Follow James Hardie’s instructions to avoid voiding warranties.
Solution: Hire certified installers, use proper tools like HardieBlades and galvanized nails, and always refer to the installation manual. Proper installation ensures durability, weather resistance, and lower maintenance needs.
Quick Tip: A professional installation not only protects your investment but also boosts your home’s value and curb appeal.
3 COMMON JAMES HARDIE INSTALLATION MISTAKES !
Top Installation Mistakes to Watch For
When installing James Hardie siding, avoiding common mistakes is crucial. Here are some key errors to steer clear of:
Incorrect Nail Installation
Using the wrong nails - like smooth instead of the required ring-shanked - or failing to follow guidelines for nail depth and spacing can void warranties and reduce weather resistance. Always stick to the manufacturer’s specifications for nail type, depth, and spacing.
Poor Flashing and Water Control
Skipping proper flashing can let moisture seep in, causing wood rot and mold in wall cavities. Pay extra attention to areas like windows, doors, and other openings. Correct flashing and moisture barriers are essential to keep water out.
Wrong Spacing from Surfaces
Failing to maintain the right clearance from the ground, roofing, decks, or other structures can block ventilation and drainage. This puts both the siding and the structure at risk. Follow the recommended clearances to keep everything in good shape.
Improper Joint Setup
Issues like uneven spacing, missing flashing, or misaligned joints can lead to water problems and ruin the siding’s appearance. Stick to the manufacturer's joint setup instructions to ensure good water management and a clean, polished look.
Not Following Installation Rules
Ignoring the manufacturer’s guidelines - whether it’s during handling, cutting, or installing the starter strip - can compromise durability and void the warranty. Every step matters, so follow the rules closely.
Hiring certified installers can help you avoid these expensive mistakes.
sbb-itb-85e0110
How to Prevent These Mistakes
Read the Installation Guide
Make sure to follow James Hardie's installation manual closely. This guide is your go-to resource for:
- Advanced moisture management methods
- Installation steps tailored to specific climates
- Essential safety procedures
- Steps to maintain warranty protection
- Adjustments for regional building codes
Once you've reviewed the guide, ensure you're using the right tools to follow these instructions properly.
Choose the Right Equipment
Using the correct tools and materials is crucial for a successful installation. James Hardie recommends specific equipment to achieve the best results:
| Equipment Category | Required Items | Purpose |
|---|---|---|
| Cutting Tools | Fiber cement shears, circular saw with HardieBlade | Ensures clean, precise cuts |
| Fasteners | Hot-dipped galvanized or stainless steel nails | Provides secure attachment |
| Safety Gear | NIOSH-approved dust mask, safety glasses | Protects workers from dust and debris |
| Measuring Tools | Level, chalk line, tape measure | Ensures accurate alignment and placement |
Work with Certified Installers
Hiring certified installers ensures the job is done right. These professionals follow all specifications and use the proper tools and techniques to deliver a high-quality installation.
"With meticulous planning, we turn your home siding dreams into a concrete blueprint. We prioritize seamless communication to ensure the final plan is detailed, efficient, and fully customized." - Bayshore Exteriors
Certified installers bring several advantages, including:
- Expertise in climate-specific installation techniques
- Familiarity with the latest installation methods
- Knowledge of building code requirements
- Proactive problem-solving to avoid issues
- Assurance of top-notch quality
Their skills not only help prevent mistakes but also ensure your James Hardie siding performs well and lasts for years to come.
Results of Correct Installation
Installing James Hardie siding the right way doesn’t just avoid mistakes - it brings real advantages to your home.
Improved Weather Resistance
When installed correctly, James Hardie siding offers strong protection against harsh weather. The process ensures it can handle water exposure and other weather-related stresses effectively.
Increased Home Value
A professional installation using high-quality materials can transform your home's exterior, improving both its curb appeal and market value.
| Benefit | Impact on Home Value |
|---|---|
| Enhanced Curb Appeal | Gives your home a refreshed, modern look that stands out. |
| Premium Materials | Reflects a commitment to durable, high-quality materials that last. |
| Professional Installation | Demonstrates attention to detail and craftsmanship, boosting overall aesthetics. |
Lower Maintenance Requirements
Properly installed James Hardie siding is built to withstand weather damage, reducing the need for frequent repairs or repainting. This makes it a practical, long-term choice for homeowners.
"Bayshore Exteriors showcased expertise in guiding me to the best James Hardie siding option. The result is not only aesthetically pleasing but also a durable, long-lasting solution." – Samual C.
Choosing the right installation methods ensures these advantages are fully realized.
Next Steps for Homeowners
Follow essential guidelines to make sure your James Hardie siding installation is a success. Proper installation by professionals not only avoids expensive errors but also ensures long-lasting results.
A certified installation not only protects your investment but also boosts your home's curb appeal. By reviewing the James Hardie installation guidelines, you’ll be better equipped to make informed choices and collaborate effectively with your installation team.
For expert James Hardie siding installation, choose certified professionals like Bayshore Exteriors. Their process ensures every detail is handled with care:
| Service Phase | What to Expect |
|---|---|
| Initial Consultation | Comprehensive project evaluation and tailored advice |
| Planning | Assistance with material selection and timeline setup |
| Installation | Skilled work adhering to manufacturer specifications |
| Quality Assurance | Final inspections and finishing touches |
This step-by-step approach ensures your project meets top-tier standards at every stage.
"At Bayshore Exteriors, we understand the importance of turning your house into a true haven - a place where style meets functionality and where durability intertwines with beauty." - Bayshore Exteriors
Get started by scheduling a consultation with certified experts today.