How to Maintain Door Weather Stripping
How to Maintain Door Weather Stripping
Door weather stripping is essential for keeping your home energy-efficient and comfortable. It prevents drafts, moisture, and insects from entering while keeping heated or cooled air inside. Neglecting it can lead to higher energy bills and damage to your home.
Key Tips for Maintaining Door Weather Stripping:
- Inspect Regularly: Look for cracks, gaps, or worn-out material every six months.
- Clean Thoroughly: Use mild soap and a soft cloth to remove dirt and debris.
- Repair or Replace: Fix small tears with adhesive or replace brittle and damaged sections.
- Seasonal Care: Lubricate and condition rubber or vinyl to prevent weather damage.
Benefits of Maintenance:
- Lower Energy Bills: Save 10–15% annually by reducing air leaks.
- Longer Lifespan: Well-maintained weather stripping lasts 3–5 years or more.
- Improved Comfort: Keeps out drafts, dust, and moisture year-round.
Regular upkeep is simple and saves money while protecting your home. Read on for detailed steps and quick fixes to keep your weather stripping in top shape.
How to Replace Exterior Door Weather Stripping | Seal Out Bugs, Water & Air
Benefits of Regular Maintenance
Taking care of your door's weather stripping offers more than just a tight seal. Here's why regular upkeep matters.
Lower Energy Bills
Good weather stripping acts as a thermal barrier, cutting down on air leaks and energy waste. This helps maintain steady indoor temperatures during both winter and summer, making your heating and cooling systems work more efficiently.
Protection from the Elements
Properly sealed doors keep out rain, dust, pollen, and even insects, creating a cleaner and more comfortable home. It also prevents water from seeping in during heavy rains, which helps protect your floors and reduces the risk of moisture problems like mold.
Longer Lifespan for Materials
Regular maintenance helps your weather stripping last longer, saving you from frequent replacements. Cleaning gets rid of dirt that can wear down the material, while timely repairs stop small issues from turning into big problems. Lubricating and adjusting it seasonally also reduces wear and tear on both the stripping and the door itself.
Taking care of your weather stripping is a smart way to protect your home over time. If you're looking for expert advice or professional help, services like Bayshore Exteriors (https://bayshoreexteriors.com) can assist in keeping your home's exterior in top shape.
Inspection Steps
Check your door's weather stripping regularly to spot issues early and prevent energy loss or damage.
What to Look For
Start with a visual inspection of the weather stripping along the entire door frame. Look for signs like cracks, tears, or flattened areas. Pay extra attention to the bottom corners, as they tend to wear out faster.
Run your hand over the weather stripping to identify rough spots or stiffness. Close the door and check for any light shining through, which could indicate gaps in the seal. These are common warning signs, as detailed below.
Common Problems
- Gaps: No daylight should be visible around the edges when the door is shut.
- Flattened sections: Areas that no longer spring back into shape.
- Worn-out material: Signs like brittleness, crumbling, or pieces breaking off.
- Loose strips: Weather stripping pulling away from the frame.
- Water issues: Mold or discoloration, often near the bottom.
The bottom sweep and the corners where vertical and horizontal strips meet are usually the most affected. These areas bear the brunt of weather exposure and frequent door use.
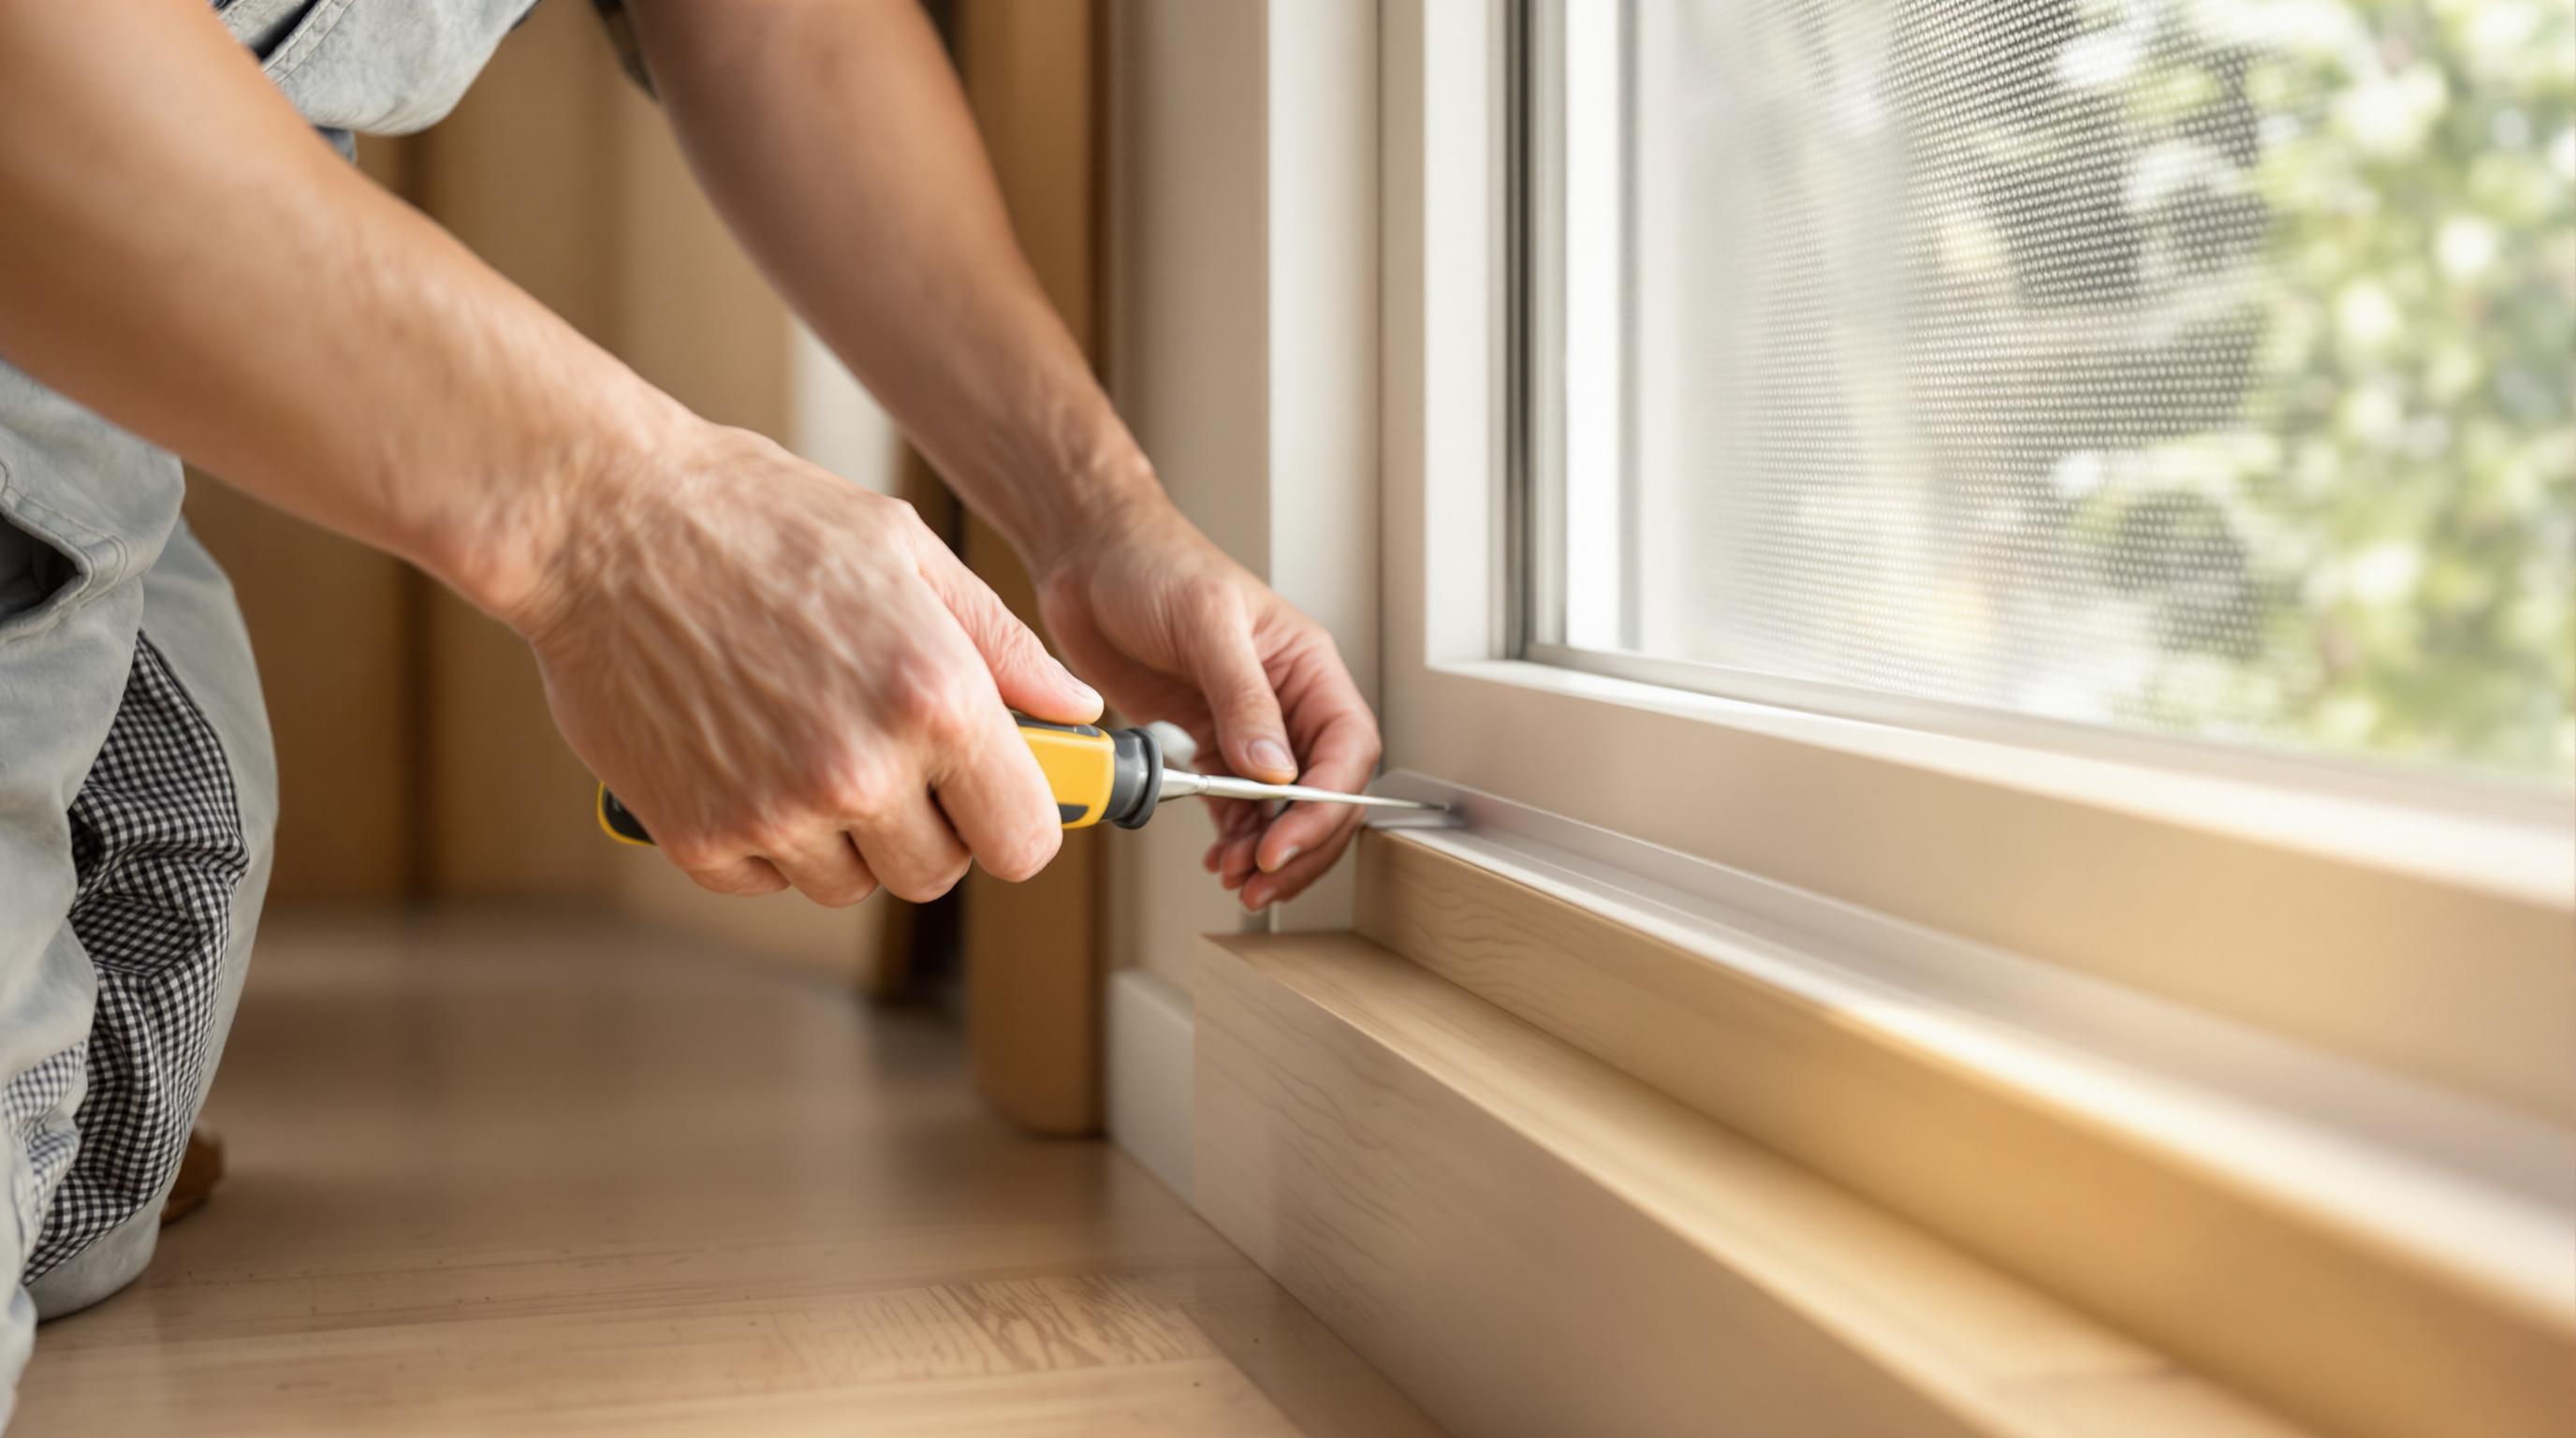
Repair or Replace Guide
| Condition | Action Needed |
|---|---|
| Small tears or gaps | Fix with adhesive or sealant |
| Loose but intact strips | Reattach using fasteners |
| Brittle or crumbling material | Replace completely |
| Water damage or mold | Replace and address the moisture source |
For minor issues, repair the specific spot to maintain the seal's integrity. If replacement is needed, consider more durable options like silicone or EPDM rubber, which can handle extreme temperatures better.
Before installing new weather stripping, check that your door is properly aligned to ensure a tight seal.
sbb-itb-85e0110
Cleaning and Care
Keeping your weather stripping clean ensures it stays flexible and continues to seal out drafts effectively. Follow these steps for cleaning and use the seasonal care tips to keep it in top shape.
What You'll Need
Here’s a quick list of items to have ready for weather stripping maintenance:
- Mild dish soap or a vinyl/rubber cleaner
- Soft microfiber cloths and a soft-bristled brush
- Clean, lint-free towels
- Silicone spray lubricant or rubber conditioner
- Rubber gloves and protective eyewear
How to Clean
Start by removing dirt and debris with a soft brush or a vacuum. Then, follow these steps for a deeper clean:
- Mix a tablespoon of mild dish soap with 2 cups of warm water.
- Use a damp microfiber cloth to wipe the weather stripping, and a soft brush for tougher dirt on textured areas.
- Rinse off any soap residue with a clean, damp cloth.
- Dry thoroughly with lint-free towels and allow it to air dry completely.
Important: Avoid using bleach or oil-based cleaners, as they can damage the material.
Once cleaned, move on to regular seasonal maintenance to keep the weather stripping performing well.
Seasonal Care Tips
Taking care of your weather stripping throughout the year can extend its lifespan and ensure it works effectively, even during extreme weather.
| Season | Task | Why It Matters |
|---|---|---|
| Spring | Deep clean + lubricate | Clears out winter debris and salt |
| Summer | Condition rubber/vinyl | Protects against UV damage |
| Fall | Check seals + lubricate | Prepares for colder temperatures |
| Winter | Inspect + touch up | Keeps flexibility in freezing weather |
For vinyl and rubber types, use a silicone-based lubricant to stop sticking and keep them flexible. Apply a thin, even layer, and wipe away any excess to avoid dirt buildup.
During extreme weather, pay extra attention. Cold temperatures can make weather stripping brittle, while heat can cause it to expand. Regular conditioning helps it handle these changes while staying effective at sealing.
Quick Fixes
After inspecting and cleaning your door, try these practical fixes to get it working smoothly again.
When dealing with weather stripping issues, addressing them quickly helps keep your door energy-efficient. Below are some easy ways to handle common problems.
Fixing Air Leaks
To pinpoint air leaks:
- Hold a lit incense stick near the edges of the door on a windy day - if the smoke moves, you've found a leak.
- Run your hand along the weather stripping to feel for drafts.
- Check for visible light around the door edges when it's closed.
For minor gaps, gently pull the weather stripping outward to improve the seal. If you’re using compressible weather stripping, tighten any loose screws to increase pressure. Still have gaps? Add a thin layer of foam tape behind the current weather stripping to strengthen the seal.
Securing Loose Strips
In busy areas, weather stripping can come loose. Here’s how to fix it:
- Clean surfaces: Use rubbing alcohol to clean both the door and the stripping.
- Adhesive-backed strips: Press them firmly into place, working in small sections.
- Nail-on types: Replace any missing or bent nails with 3/8-inch nails.
- Screw-mounted types: Tighten screws or replace them with #6 sheet metal screws.
Pro Tip: If you're reattaching adhesive strips in cold weather, slightly warm the adhesive with a hairdryer to improve its hold.
Door Adjustments
Sometimes the door itself needs tweaking to ensure proper contact with the weather stripping. Here are common adjustments:
| Problem | Adjustment | Tools Needed |
|---|---|---|
| Door sags at corners | Tighten hinge screws | Phillips screwdriver |
| Door doesn’t close flush | Adjust the strike plate position | Chisel and screwdriver |
| Uneven contact | Shim hinges with washers | Flat washers, screwdriver |
Start by adjusting the hinges. Replace one hinge screw with a 3-inch screw that reaches into the wall stud. This helps pull the door frame into alignment, ensuring better contact with the weather stripping.
If the bottom of the door doesn’t seal correctly, adjust the threshold height. Look for adjustment screws along the threshold and turn them clockwise to raise or counterclockwise to lower. Adjust until the door seals properly but still opens and closes smoothly.
Summary
Regular upkeep is essential for keeping weather stripping in good shape and ensuring its performance. Routine inspections, cleaning, and timely repairs help maintain comfort, extend the lifespan of weather stripping, and reduce energy expenses.
Here are some important maintenance tips:
- Inspect weather stripping every six months.
- Clean surfaces with rubbing alcohol before making repairs.
- Seal air leaks as soon as they appear using proper techniques.
- Adjust door hardware to ensure consistent contact.
- Replace damaged sections to prevent further wear and tear.
To get the best results, pair regular cleaning with occasional adjustments. Properly maintained weather stripping can last 3–5 years, while neglect could lead to replacement within just one year. When choosing replacement materials, think about your local weather conditions and how often the door is used.
Quick maintenance schedule:
| Season | Maintenance Task | Time Investment |
|---|---|---|
| Spring | Deep clean and full inspection | 30-45 minutes |
| Summer | Check adhesive integrity | 15 minutes |
| Fall | Verify seal effectiveness | 20 minutes |
| Winter | Monitor for frost damage | 15 minutes |