7 Types of Weatherstripping for Doors and Windows
7 Types of Weatherstripping for Doors and Windows
Weatherstripping is a simple and affordable way to seal gaps around doors and windows, reducing drafts, keeping your home comfortable, and cutting energy costs by up to 15%. Here's a quick rundown of the most common types:
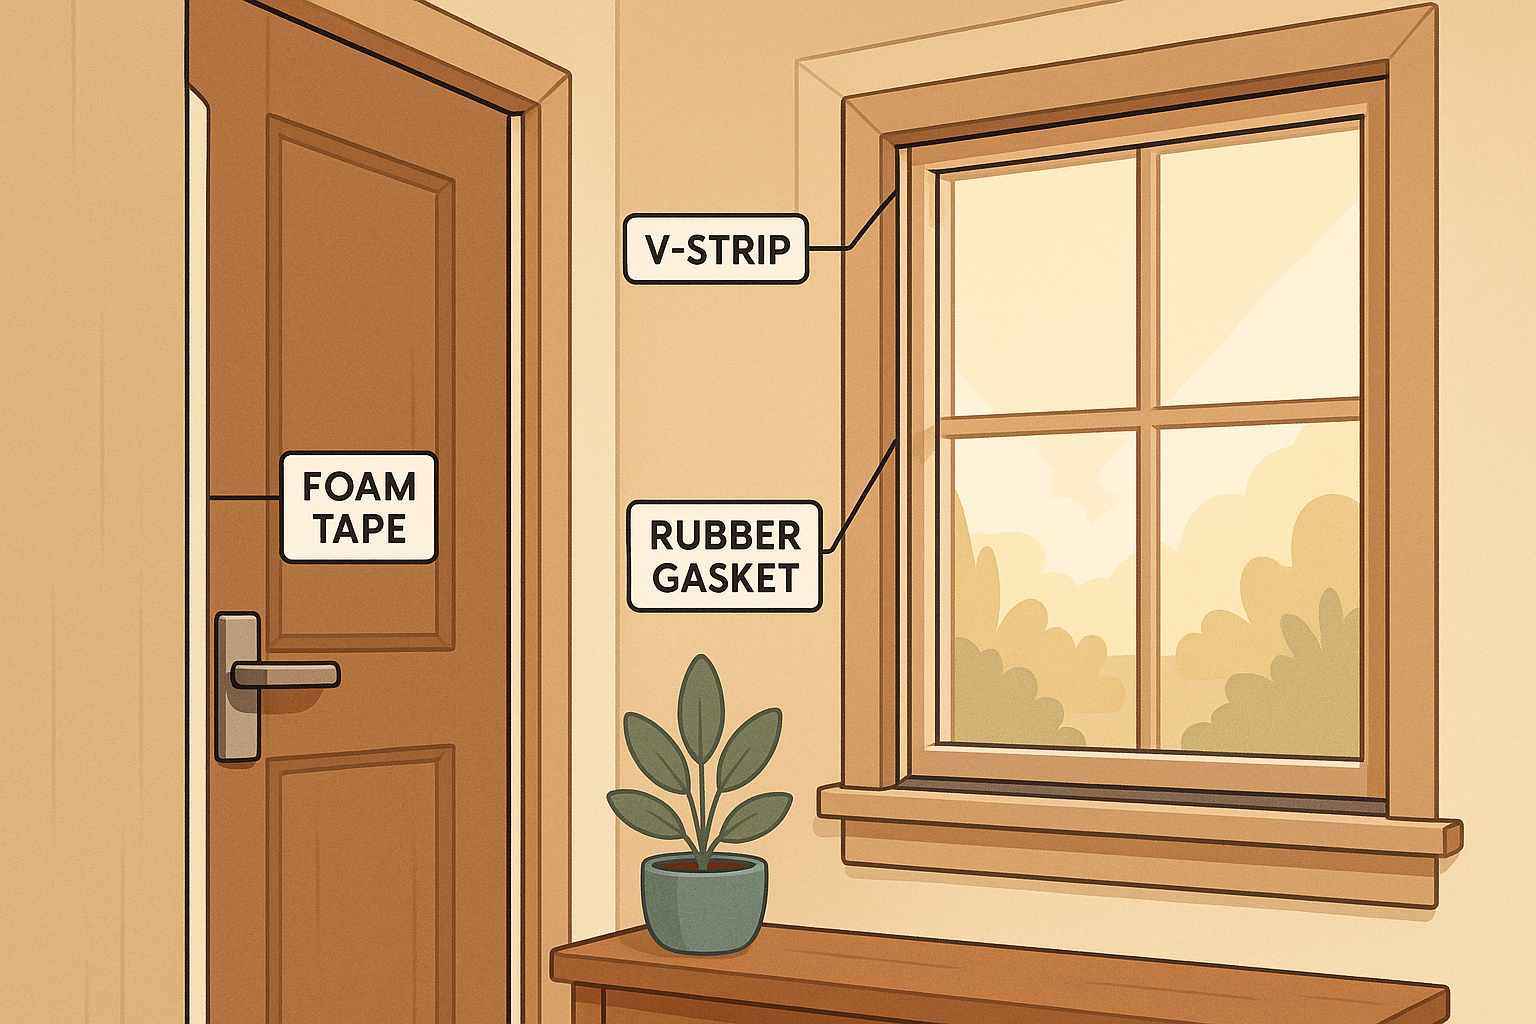
- V-Strip (Tension Seal): Durable, self-adjusting, great for windows and door sides.
- Felt Strips: Affordable, easy to install, ideal for low-traffic interior doors and windows.
- Foam Adhesive Strips: Flexible and great for uneven gaps in doors and windows.
- Door Bottom Sweeps: Seals the bottom of doors to block drafts, moisture, and debris.
- Rubber and Vinyl Tubes: Compresses to seal larger gaps, perfect for entry and garage doors.
- Vinyl Gasket Rolls: Weather-resistant and ideal for window and door stops.
- Metal Strips: Long-lasting, premium option for high-traffic doors and windows.
Quick Comparison
| Type | Best For | Lifespan | Cost Range | Key Benefit | Drawback |
|---|---|---|---|---|---|
| V-Strip | Windows, door sides | Long-lasting | Moderate | Self-adjusting, durable | Visible, noisy in wind |
| Felt Strips | Interior doors, windows | 1–2 years | Low | Affordable, easy to install | Needs frequent replacement |
| Foam Adhesive | Uneven gaps, windows | Moderate | Moderate | Conforms to gaps, low visibility | Adhesive weakens over time |
| Door Sweeps | Exterior doors, garages | 3–10 years | Higher | Strong draft protection | Tricky installation |
| Rubber/Vinyl Tubes | Entry/garage doors | 5–9 years | Moderate | Handles larger gaps | Precise sizing needed |
| Vinyl Gaskets | Door/window stops | Good lifespan | Moderate | Professional finish | Requires precision |
| Metal Strips | High-traffic areas | 20–30 years | Premium | Extremely durable | High cost, complex install |
How to Choose
- Budget-Friendly: Felt strips are cheap but need frequent replacement.
- Long-Term Solution: Metal strips last decades but cost more upfront.
- Versatile Option: V-strips balance durability and cost.
Best exterior weather stripping solution for doors with gaps
What is Weatherstripping?
Weatherstripping is a method used to seal gaps around doors and windows, preventing unwanted air from entering or escaping. Made from materials like foam, metal, and vinyl, it forms a barrier between moving parts of doors and windows. This helps reduce the strain on your HVAC system and keeps your home comfortable.
It’s not just for exterior doors and windows - weatherstripping is useful for various areas in your home. It also helps keep out moisture, dust, and insects, offering protection beyond just temperature control.
Here are some specific uses for weatherstripping:
- Interior doors that lead to spaces without heating or cooling, like garages
- Sliding glass doors to block drafts and maintain comfort
- Windows with air conditioning units to seal gaps effectively
| Location | Common Issues | Benefits of Weatherstripping |
|---|---|---|
| Entry Doors | Drafts and moisture | Creates a tight seal to reduce energy loss |
| Windows | Air leakage and condensation | Provides a flexible seal for moving parts |
| Garage Doors | Large gaps and debris | Offers sturdy protection against elements |
| Interior Doors | Minor drafts | Helps stabilize indoor conditions |
1. V-Strip (Tension Seal)
The V-Strip, also known as a tension seal, creates a strong seal when installed correctly. Here's how to get it done:
How to Install
- Prepare the surface: Clean thoroughly, removing any old weatherstripping and debris.
- Measure and cut: Measure your frame and trim the V-Strip to fit.
- Position the strip: Align the V-shape to ensure it seals properly.
- Secure it: Attach the strip using fasteners.
- Test the seal: Close the door or window to check for even compression.
2. Felt Strips
Materials and Lifespan
Felt weatherstripping is made from compressed wool or polyester fibers. Traditional wool provides insulation, while synthetic options offer better durability and resist moisture. These strips typically last 1–2 years, but their lifespan can be shorter in areas with heavy use or harsh weather conditions.
Installation Steps
- Clean the surface: Remove any old weatherstripping and clean the area with rubbing alcohol.
- Measure and apply: Cut the felt strips about an inch longer than needed, peel off the backing, and press them firmly into place.
- Trim corners: Use scissors to cut corners at a 45° angle for a snug fit.
- Test the seal: Close the door or window to check that the strip compresses properly.
Where to Use
Felt strips are ideal for areas with moderate temperatures and low moisture, such as:
- Interior door frames
- Window sashes
- Attic hatches
- Storage room doors
- Cabinet edges
They are not suitable for exterior doors or windows exposed to rain or snow, as moisture can cause the material to deteriorate quickly.
Cost Range
You can find standard rolls for $3–$8 (17 feet) at most hardware stores. Synthetic, professional-grade options cost $10–$15 per roll and offer better durability. For a 36-inch door, expect to spend $5–$7 on materials.
Felt strips are an affordable option, but they may need frequent replacement in areas with heavy use. Up next, learn tips for proper installation and maintenance to make them last longer.
3. Foam Adhesive Strips
Where to Use
Foam adhesive strips are great for sealing uneven gaps and blocking drafts around doors and windows. They’re most effective for gaps between 1/8 inch and 1/2 inch wide. Typical uses include:
- Top and sides of window sashes: Helps keep out drafts and improve insulation.
- Interior door frames: Seals gaps to maintain room temperature.
- Sliding door tracks: Reduces air leakage and enhances energy efficiency.
- Garage door panels: Provides a barrier against drafts and debris.
- Basement windows: Prevents cold air and moisture from entering.
4. Door Bottom Sweeps
Door bottom sweeps are a practical way to seal the bottom of doors, keeping out drafts, moisture, and debris.
Materials and Lifespan
Door bottom sweeps are available in three main materials, each offering different levels of durability:
- Aluminum with rubber or vinyl: The most durable choice, lasting 8–10 years.
- Heavy-duty vinyl: A mid-range option, lasting 5–7 years.
- Brush-style: Made from tightly packed synthetic fibers, lasting 3–5 years.
The rubber or vinyl inserts can be replaced when worn out, allowing you to reuse the aluminum carrier strip for a cost-effective, long-term solution.
Installation Steps
Installing a door bottom sweep is a straightforward process. Here's how to do it:
- Measure and cut: Measure the door width, adding 1/8 inch, and cut the sweep to fit.
- Clean the door bottom: Remove any dirt or old adhesive to ensure a smooth surface.
- Position and mark: Place the sweep so it firmly contacts the threshold, then mark screw locations every 6 inches.
- Pre-drill holes: Use a 1/16-inch drill bit to prevent the door from splitting.
- Attach the sweep: Secure the sweep with screws, starting from the hinge side.
Once installed, you can consider pairing it with other weatherstripping solutions for added insulation.
Best Applications
Door bottom sweeps are particularly useful in these scenarios:
- Entry doors: Ideal for doors with gaps up to 3/4 inch.
- Garage pedestrian doors: Helps block leaves and small debris.
- Basement access doors: Reduces moisture issues.
- Workshop doors: Keeps out sawdust and other debris.
- Utility room doors: Aids in maintaining consistent temperatures.
Cost Range
Here’s what you can expect to spend:
| Material Type | Price Range |
|---|---|
| Aluminum/Rubber | $15–25 |
| Heavy-duty Vinyl | $8–15 |
| Brush-style | $12–20 |
If you prefer professional installation, expect to pay an additional $50–75 per door. However, with basic tools, DIY installation is a simple and budget-friendly option.
sbb-itb-85e0110
5. Rubber and Vinyl Tubes
Rubber and vinyl tubes are effective for sealing gaps around doors and windows. These tubes compress when the door or window closes, creating an airtight seal that helps block drafts and moisture.
Materials and Lifespan
Tubular weatherstripping is available in two main materials:
- EPDM Rubber: Handles UV exposure and extreme temperatures (-40°F to 170°F) and typically lasts 7–9 years.
- Vinyl (PVC): A budget-friendly option, but less durable. Works best in milder conditions (-20°F to 140°F) with a lifespan of 5–7 years.
Both materials come with a flexible kerf (mounting spine) that fits securely into the frame groove without needing adhesives.
Installation Steps
- Measure accurately: Add an extra inch to the total length for trimming.
- Clean the surface: Remove any old weatherstripping and clean the kerf groove with mineral spirits.
- Test the fit: Place a small piece to ensure it compresses properly when the door or window closes.
- Install the spine: Start at the top and press the mounting spine into the groove using a putty knife.
- Trim the excess: Cut the ends at a 45-degree angle for a clean, professional look.
Where to Use
Tubular weatherstripping is suitable for various applications:
| Location | Gap Size | Best Material |
|---|---|---|
| Entry Doors | 1/8" - 1/4" | EPDM Rubber |
| Window Sash | Up to 3/16" | Vinyl |
| French Doors | 1/8" - 3/16" | EPDM Rubber |
| Sliding Doors | Up to 1/4" | Vinyl |
Cost Range
Pricing depends on the material and length:
| Material | Price per Foot | 36" Door Kit |
|---|---|---|
| EPDM Rubber | $2.50-$3.75 | $15-$22 |
| Vinyl | $1.75-$2.50 | $10-$15 |
Replace the weatherstripping when it shows signs of hardening, cracking, or losing its ability to compress. Cleaning it occasionally with mild soap and water can help maintain its effectiveness and extend its life.
6. Vinyl Gasket Rolls
Vinyl gasket rolls are a practical solution for sealing doors and windows to reduce drafts and improve energy efficiency. Installing them correctly helps keep indoor temperatures stable and lowers energy costs.
How to Install Vinyl Gasket Rolls
- Measure and Clean: Start by measuring the perimeter of the door or window. Clean the surface thoroughly with rubbing alcohol to ensure proper adhesion.
- Cut to Size: Trim the gasket roll to the required length, leaving a little extra for final adjustments.
- Test the Fit: Position the gasket along the gap to check that it compresses properly when the door or window is closed.
- Peel Adhesive Backing Gradually: Remove the backing in small 12-inch sections as you work to prevent it from sticking prematurely.
- Press Firmly: Press the gasket firmly onto the surface, ensuring it sticks securely along the entire length.
Following these steps ensures a strong and lasting seal.
7. Metal Strips
Metal weatherstripping is a long-lasting option for sealing doors and windows, keeping drafts and moisture out effectively.
Materials and Lifespan
Made with a spring-bronze or aluminum base and a flexible metal flange, these strips can last 20–30 years if properly maintained.
Installation Steps
- Measure the door or window frame.
- Cut the metal strip to the correct length using tin snips.
- Pre-drill pilot holes every 12 inches along the strip.
- Position the strip so it makes proper contact when the door or window is closed.
- Secure it with screws, ensuring it's aligned correctly.
Best Uses
Metal weatherstripping is ideal for:
- Meeting rails on double-hung windows
- Door jambs and stops
- Bottom edges of doors
- Areas with frequent temperature fluctuations
- High-traffic entrances where durability is key
Cost Breakdown
The cost for metal weatherstripping ranges from $12 to $25 per linear foot installed. For a standard 36-inch door:
- Door bottom (3 feet): $36–$75
- Door sides and top (12 feet): $144–$300
This brings the total to $180–$375 per door.
While you can install it yourself, hiring a professional ensures proper alignment and optimal performance. Metal weatherstripping is a sturdy and reliable choice, rounding out the list of effective weatherstripping solutions.
Quick Guide: Comparing Weatherstripping Types
Here’s a quick overview to help you evaluate seven types of weatherstripping based on durability, cost, advantages, and drawbacks.
| Type | Best Uses | Durability | Cost | Advantages | Drawbacks |
|---|---|---|---|---|---|
| V-Strip (Tension Seal) | Double-hung windows, casement windows, door sides | Long-lasting | Moderate | Self-adjusting, easy to install, no adhesive needed | Can be visible; may create noise in strong winds |
| Felt Strips | Low-traffic windows, interior doors | Short lifespan | Low | Affordable, easy to install, works with irregular gaps | Needs frequent replacement; less moisture-resistant |
| Foam Adhesive Strips | Window sashes, door frames, attic hatches | Moderate lifespan | Moderate | Good insulation, conforms to gaps, low visibility | Adhesive may weaken over time; not ideal for high-friction areas |
| Door Sweeps | Exterior doors, garage doors | Reliable with maintenance | Higher upfront cost | Strong draft protection, sturdy, adjustable | Installation can be tricky and might require professional help |
| Rubber/Vinyl Tubes | Garage doors, larger gaps | Moderately durable | Moderate | Great compression, weather-resistant, works on uneven surfaces | Requires precise sizing; may add bulk if not fitted properly |
| Vinyl Gaskets | Doorstops, window stops | Good lifespan | Moderate | Professional finish, weather-resistant, multiple profiles available | Installation demands precision; limited color options |
| Metal Strips | High-traffic doors, window rails | Extremely durable | Premium | Long-lasting, professional look, handles temperature changes well | High cost; more complex installation |
This table highlights each option’s strengths and weaknesses, helping you find the right fit for your needs.
Long-Term Value
- Best all-around choice: V-strips offer durability and moderate pricing, making them a versatile option.
- Budget-friendly pick: Felt strips are inexpensive but may require frequent replacement due to their shorter lifespan.
- High-end option: Metal strips are pricier initially but their durability can save money over time.
Matching Weatherstripping to Your Needs
Different areas of your home require specific solutions:
- Main Entry Doors: Metal strips or door sweeps provide sturdy, long-lasting protection.
- Interior Doors: Opt for felt or foam adhesive strips for lighter use.
- Windows: V-strips or vinyl gaskets ensure effective sealing.
- Garage Doors: Rubber/vinyl tubes or heavy-duty door sweeps handle larger gaps effectively.
How to Install and Maintain Weatherstripping
Tools and Materials You’ll Need
To get started with weatherstripping, have these tools and materials ready:
- Measuring tape
- Utility knife and scissors
- Cleaning supplies (mild detergent, cloth, rubbing alcohol)
- Screwdrivers
- Caulk gun (if required)
- Safety glasses and work gloves
Step-by-Step Installation Guide
Here’s how to install weatherstripping efficiently:
1. Prepare the Surface
Clean the area thoroughly using a mild detergent. Remove any old weatherstripping and leftover residue, then wipe the surface with rubbing alcohol for a clean base.
2. Measure Accurately
Measure the perimeter of your doors or windows carefully. Add about 10% extra material to account for adjustments or errors.
3. Install Based on Material Type
Different materials require different techniques. Here's a quick guide:
| Type | How to Install | Key Tips |
|---|---|---|
| V-Strip | Press into the corners of jambs | Make sure the metal flange faces outward. |
| Felt/Foam | Stick firmly to a clean surface | Best applied when temperatures are above 50°F. |
| Door Sweeps | Screw into the bottom of the door | Leave a 1/16" gap for smooth door movement. |
| Vinyl Gaskets | Cut to size, then nail or staple in place | Pre-drill holes to avoid splitting. |
Maintenance Checklist
Regular maintenance helps keep weatherstripping effective over time:
Monthly Tasks
- Inspect for wear, cracks, or damage.
- Ensure doors and windows close properly.
- Clean the surrounding surfaces.
Seasonal Tasks
- Wash weatherstripping with mild soap and water.
- Test for drafts to ensure the seal is still effective.
- Tighten or adjust any loose pieces.
Annual Tasks
- Conduct a full inspection of all weatherstripping.
- Replace any sections showing significant damage.
- Assess overall performance and energy efficiency.
When to Replace Weatherstripping
Here are signs it’s time to swap out old weatherstripping:
- Cracks or brittleness in the material.
- Gaps between the weatherstripping and the surface.
- Noticeable drafts or moisture getting through.
- Higher energy bills without other explanations.
- Difficulty in opening or closing doors and windows.
Tips for Professional-Level Installation
- Work on dry days when temperatures are between 50°F and 75°F.
- Test door and window function after securing each section.
- Ensure the weatherstripping compresses properly when closed.
- Allow adhesives to cure for at least 24 hours before use.
- Keep extra materials on hand for quick repairs.
Conclusion
Adding weatherstripping to your home improves comfort and helps lower energy bills. When choosing the right type, think about factors like durability, exposure to the elements, and the specific needs of your doors and windows. Each type plays a role in sealing out drafts and moisture effectively.
For the best results, professional installation can make a big difference. Experts ensure your weatherstripping performs well and lasts longer. Bayshore Exteriors, known for its exterior remodeling services, offers weatherstripping as part of its offerings and guarantees its craftsmanship with a lifetime workmanship warranty.
"We were founded in Tampa Bay with the goal of providing the highest quality craftsmanship, and exceeding our customer's expectations every time!" - Bayshore Exteriors
According to the U.S. Department of Energy, sealing air leaks can reduce heating and cooling costs by up to 15%. By investing in quality materials and professional installation, you can achieve long-term energy savings.
FAQs
How can I choose the best type of weatherstripping for my doors and windows?
The best type of weatherstripping for your home depends on several factors, including the location, material, and condition of your doors and windows. Start by identifying areas where drafts or air leaks are most noticeable. Then, consider the type of weatherstripping that works best for that surface - felt, foam, vinyl, or metal are common options, each suited to different needs.
For example, foam tape is ideal for irregular gaps, while vinyl or metal strips provide durability and are great for high-traffic areas. If you're unsure, consult a professional for guidance to ensure the right fit and maximum energy efficiency for your home.
What are common mistakes to avoid when installing weatherstripping on doors and windows?
When installing weatherstripping, proper preparation and technique are key to ensuring a tight seal and long-lasting results. Here are some common mistakes to avoid:
- Skipping surface preparation: Failing to clean and dry the surface before installation can prevent the weatherstripping from adhering properly.
- Choosing the wrong type: Not all weatherstripping materials are suitable for every application. For example, foam tape works well for irregular gaps, while V-strip is better for tighter seals.
- Improper measurements: Cutting the weatherstripping too short or too long can result in gaps or bunching, reducing its effectiveness.
- Overlooking wear and tear: Weatherstripping needs periodic inspection and replacement, as worn or damaged materials won't provide a proper seal.
By avoiding these mistakes, you can improve energy efficiency, reduce drafts, and enhance the comfort of your home. If you're unsure which type of weatherstripping is best for your doors or windows, consult a professional for guidance.
How often should I check and replace weatherstripping to maintain energy efficiency?
To ensure your home stays energy-efficient, it's a good idea to inspect your weatherstripping at least once a year, typically before extreme weather seasons like winter or summer. Look for signs of wear, such as cracks, gaps, or peeling, which can let in drafts or moisture. Replacing damaged weatherstripping promptly can help maintain a comfortable indoor temperature and reduce energy costs. Regular checks can also prolong the life of your doors and windows by preventing unnecessary strain on your HVAC system.