How Professionals Clean James Hardie Siding
How Professionals Clean James Hardie Siding
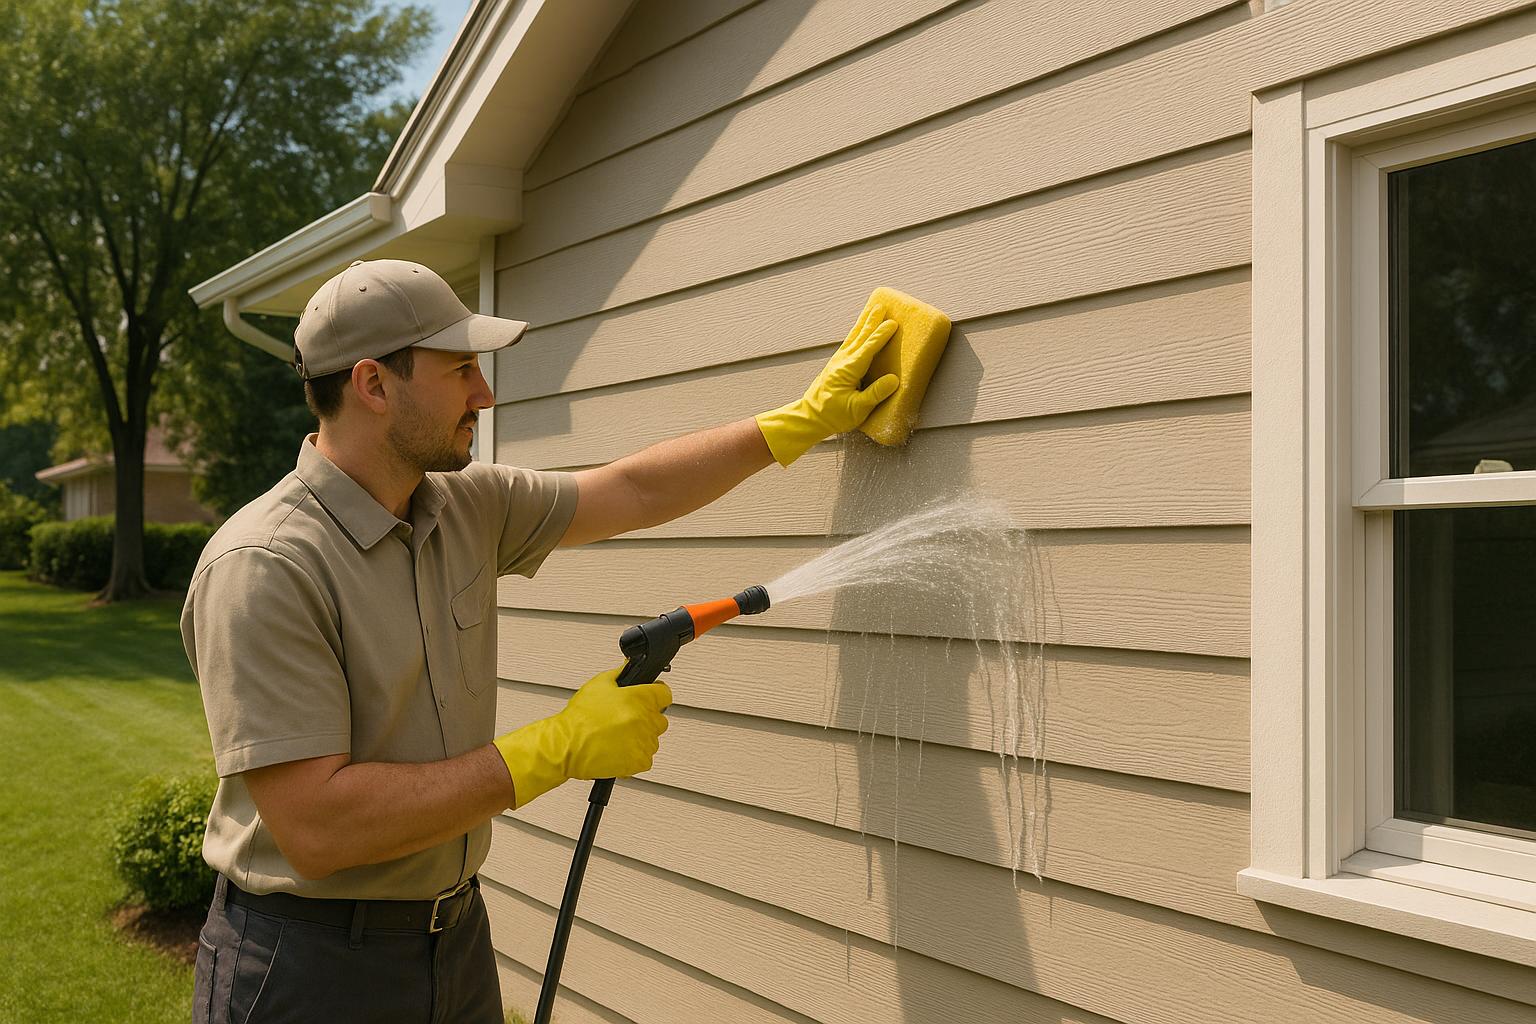
Cleaning James Hardie siding requires precision, the right tools, and safe techniques to protect its durability and appearance. Professionals follow manufacturer guidelines, avoiding high-pressure washers and harsh chemicals that can damage the siding. Instead, they use soft-bristle brushes, low-pressure hoses, and specialized cleaners to remove dirt, mold, and stains effectively. Regular inspections before and after cleaning help identify damage, ensuring long-term maintenance and warranty compliance. By opting for professional care, you save time, prevent costly mistakes, and keep your siding looking its best for years.
Key Takeaways:
- Avoid high-pressure washers; they can harm the siding and seals.
- Use soft brushes, low-pressure hoses, and fiber cement-safe cleaners.
- Professionals inspect for cracks, stains, and sealant issues before cleaning.
- Mold, grease, and rust require specific cleaning solutions like oxygen bleach or degreasers.
- Regular cleaning and inspections every six months prevent long-term damage.
This approach ensures your siding remains clean, strong, and visually appealing while avoiding unnecessary repairs or replacements.
Power Washing Can RUIN Your Siding! Here’s What to Do Instead
Getting Ready to Clean
Before the clean starts, pros take time to check James Hardie siding closely, looking for any problems that might get worse with cleaning.
Looking at the Siding for Damage and Stains
The first thing they do is walk around and inspect. They look for small breaks, loose parts, or chips that might need fixing. Even tiny cracks can let water in, which may cause bigger issues later.
Then, they check the siding for stains. They pay extra care to tell the difference between just dirt and serious problems like mold or mildew. This look-over also involves checking the sealant at the house’s edges. Any signs of cracks, gaps, or wear in the sealant are marked, as these will have to be fixed. After ending the inspection, they pick the best tools and cleaning products to make sure the job is done well and safely.
Basic Tools and Cleaning Ways
When it comes to washing James Hardie siding, pros use special tools and cleaning ways to do it well. They choose the right gear and methods, making sure the siding is washed well without harm.
Pro Cleaning Gear
To wash siding well, pros often use soft-bristle brushes. These brushes are soft enough not to scratch the surface but strong enough to take off dirt. The fake bristles also hold up well against cleaning chemicals, so they last a long time.
For spots that are hard to get to, extension poles are key. These poles can reach up to 24 feet, letting cleaners work on high siding without moving ladders a lot. This not only saves time but also cuts down on safety risks.
When it's time to rinse, pros go for garden hoses with adjustable nozzles instead of pressure washers. Adjustable nozzles let them pick the water flow, from a soft mist to a steady stream. This way, they can clean well without hurting the siding's look.
In times when ladders are needed, pros use extension ladders with rubber feet and stabilizer bars. These help keep the ladder still and make sure it doesn’t touch the siding, so no scratches or dents happen.
Pro-Grade Cleaning Stuff
For cleaning stuff, pros choose products made just for fiber cement siding. These special cleaners are made to clean well without causing color loss or surface harm.
For things like mold or mildew, oxygen bleach-based cleaners are chosen. They work well on stains but are also gentle, protecting the siding. For harder spots, pH-neutral soaps are used to get rid of tough dirt without damaging the siding’s look.
If there are oil or grease stains, pros use biodegradable degreasers. These are good for the Earth, breaking down fast in soil and not harming plants or the home's base.
Why Pros Don't Use High-Pressure Washers
High-pressure washers might look like a fast way to clean siding, but they can cause big problems. With water pressure from 1,500 to 4,000 PSI, this gear can push water behind the siding, which may trap moisture. With time, this may cause rot, mold, and expensive fixes to the structure.
The strong spray can also chip or crack the siding’s safe finish. Once this layer is hurt, the fiber cement under it gets more at risk to moisture harm and stains.
Another worry is harm to sealant and glue around windows, doors, and joins. High-pressure water can push away these safety seals, making room for leaks.
Instead, pros use a low-pressure wash and scrub way. This method makes sure the siding is cleaned well while keeping its strength and safe coatings.
How to Clean James Hardie Siding Step by Step

When you need to clean James Hardie siding the right way, there's a set way to help keep the material safe and look its best. Here's what you do first:
Take Off Dirt and Wash
First, use a soft brush to scrub each piece easy and get rid of dirt and dust. This step stops dirt from turning into hard mud when you add water.
Next, wash the siding from top to bottom with a hose. Use a nozzle on low to keep the clean spots from getting dirty water on them again. This way helps the siding stay clean and look good.
sbb-itb-85e0110
Specialized Stain Removal Methods
Some stains on siding need specific approaches to clean effectively without causing damage. Here's how to tackle the most common ones.
Mold and Mildew Treatment
If you notice black or green spots on your siding, you're likely dealing with mold or mildew. These thrive in damp areas and can spread quickly if not addressed.
To remove them, mix one part bleach with ten parts water. Apply this solution to the affected areas and let it sit for about 10 minutes to kill the mold at its source. Afterward, scrub with a brush and rinse thoroughly, working from the bottom up. This prevents the bleach solution from dripping onto already-cleaned sections.
For stubborn mold that won't budge, professionals often turn to commercial mildew removers. These products are designed to be tougher on stains while remaining safe for materials like James Hardie siding when used as directed.
Grease, Oil, and Rust Stain Solutions
Grease stains, such as those caused by barbecue grills or car oil, require a different approach since water alone won't cut through the residue. Start by applying a degreaser to the stain. Let it sit for 15–20 minutes to break down the grease, then scrub the area thoroughly.
For rust stains, often caused by metal fixtures or sprinkler systems, an oxalic acid cleaner works best. Apply the cleaner, let it sit for a while, and then scrub gently with a plastic brush.
When dealing with oil-based stains, a mixture of dish soap and warm water can be highly effective. Use circular motions while scrubbing to lift the oil out of the siding's texture. Addressing these stains promptly is key to preventing them from seeping deeper into the material.
Removing Hard Water Deposits and Discoloration
White chalky spots are a common sign of hard water deposits left behind by sprinklers or rain over time. To remove these, apply a solution of white vinegar and water to the affected areas. Let it sit for about 5 minutes before rinsing. For thicker buildup, a commercial lime remover can be used - just be sure to follow the product's instructions carefully.
Yellow or brown discoloration may result from tannins in nearby trees or metal oxidation. For these stains, professionals rely on specialized stain removers designed for fiber cement siding. Before using any cleaning product, it's always a good idea to test it on a small, inconspicuous area to ensure it won't alter the siding's color or texture.
After treating any of these stains, finish with a thorough rinse to remove all cleaning residues and keep your siding looking fresh.
Post-Cleaning Inspection and Maintenance Advice
Once the cleaning is complete and stains have been treated, professionals perform a final inspection and provide homeowners with practical maintenance tips. This ensures that the results of the cleaning are thorough and long-lasting.
Checking for Missed Spots and Damage
After cleaning, professionals carefully examine all surfaces to identify any lingering stains or potential issues that might have been hidden beneath layers of dirt. This detailed review helps catch problems early, such as loose or cracked boards, gaps in caulking, or paint issues like fading, chipping, or discoloration. If necessary, they’ll reapply sealant to areas that need extra protection and confirm that no cleaning residue remains, which could attract dirt in the future.
Once they’re satisfied with the results, the focus shifts to creating a plan for regular upkeep.
Setting Up a Maintenance Schedule
A good rule of thumb is to inspect your siding every six months. Regular checks can help spot small problems before they escalate into expensive repairs, saving both time and money in the long run.
Tips for Extending Siding Life
To keep your siding in top shape, address minor cracks as soon as they appear using a fiber cement patching compound. For larger cracks or more extensive damage, it’s wise to consult a professional for repairs.
At Bayshore Exteriors, our team offers personalized advice to help you maintain your siding and extend its lifespan. With proper care, your siding can stay strong and look great for years to come.
Conclusion: The Benefits of Professional James Hardie Siding Care
When it comes to maintaining James Hardie siding, professional cleaning stands head and shoulders above DIY attempts. Professionals bring expertise, commercial-grade tools, and time-tested techniques that ensure your siding is cleaned thoroughly and safely, without the risk of damage caused by improper methods.
By entrusting your James Hardie siding to professionals, you’re not just getting a clean surface - you’re protecting both its appearance and structural integrity. Pros know exactly which cleaning solutions work for specific stains, how to apply the right amount of pressure, and how to safeguard your landscaping during the process. Their comprehensive approach, which includes everything from pre-cleaning assessments to post-cleaning inspections, helps catch potential issues early and can significantly extend the life of your siding.
On top of that, professional cleaning saves you valuable time and spares you the frustration of trial-and-error with DIY methods. It eliminates the risk of costly mistakes, like using the wrong cleaning products or techniques, that could harm your siding or reduce its lifespan.
At Bayshore Exteriors, we take pride in using proven methods to care for your James Hardie siding. With the right tools, extensive experience, and a commitment to quality, our team ensures your siding not only looks great but also retains its value and durability. Whether it’s removing tough stains, performing routine maintenance, or prepping your home for sale, professional care keeps your investment safe and your home looking its best.
And let’s not forget the peace of mind - knowing your siding is in expert hands is worth every penny.
FAQs
Why shouldn’t you use a high-pressure washer on James Hardie siding?
Using a high-pressure washer on James Hardie siding isn’t a good idea - it can lead to cracking, chipping, or even puncturing the panels. The intense water pressure can also wear down the siding’s finish, making it less durable in the long run.
To clean it safely, stick to a low-pressure garden hose combined with a soft brush or cloth. This gentler method gets rid of dirt and grime while keeping your siding intact and looking great.
How can I safely remove mold and mildew from James Hardie siding?
To safely clean mold and mildew off James Hardie siding, stick to a cleaner specifically designed for fiber cement siding like Jomax®, Mildew Check®, or Mold Armor®. Follow the instructions on the product label to mix the solution, then apply it gently with a soft sponge or cloth. Once you're done, rinse the area thoroughly using a garden hose to prevent any leftover residue.
Stay away from high-pressure washers or abrasive tools, as these can harm the siding. Always clean along the direction of the panels to preserve their finish and strength. These simple steps will help maintain your siding's appearance and durability.
How often should I have my James Hardie siding professionally cleaned and inspected to keep it looking great and lasting longer?
To keep your James Hardie siding looking great and performing well, it’s a good idea to plan for professional cleaning and inspections at least once or twice a year. If you live in an area with mild weather or less pollution, cleaning every 6 to 12 months should usually do the trick. Regular upkeep not only keeps your siding looking fresh but also helps prevent the buildup of dirt, mold, and mildew that can compromise its appearance and longevity.
When it’s time to clean, stick to a garden hose and a soft brush. Avoid using high-pressure washers - they might seem convenient but can actually harm the siding. Inspections are just as important. They let you spot and fix small issues early, stopping them from turning into costly repairs down the road. With this routine, you can keep your siding both attractive and durable for years to come.